Table of Contents
TMF: first mission
TMF is designed such that when you want to make a mission you can just start from the template. The template is pre-configured with a platoon for each side and the appropriate settings to use them on the fly. The intention is that you can then easily delete what you don't need. As it is much faster to delete what you don't use that to place everything yourself.
Copy the mission template
The first thing you need to do is to place a copy of the mission template in your missions folder. You can find the template folder (tmf_template.Altis) where the @tmf mod is on your harddrive.
Copy this to the folder where your editor missions are stored in. This folder is typically:
<my documents>\Arma 3\missions
or if you do not use default arma profile
<my documents>\Arma 3 - Other Profiles\<profile name>\missions
You will need to rename the folder such that it is of the format <mission_name>.<island_name>. To get the island name of an unknown island just save a new mission in the editor with that island it will create a new folder with the <mission_name>.<island_name> and you then just use that island name.
Load the mission
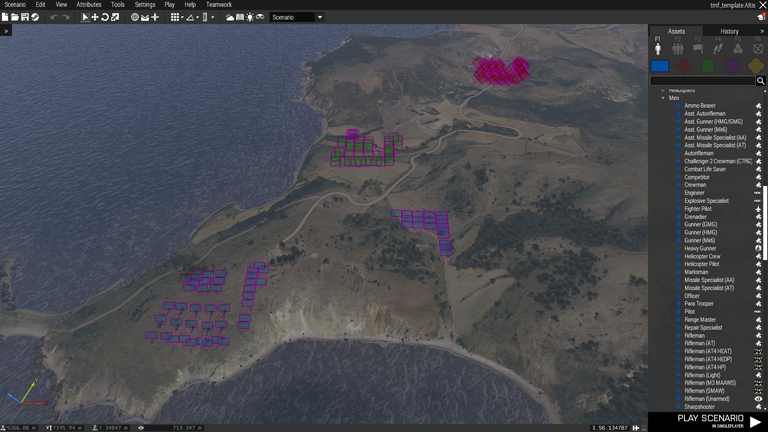
Open the mission in the 3D editor and load up your renamed template mission. You should be presented with something like the following. The pre-placed units are preconfigured platoons for NATO (blue), FIA (blue), AAF (green) and CSAT (red).
You should keep the pre-placed platoons for sides that you want the players to play as. If you are intending to make a coop where the players are only blufor you should remove all opfor and greenfor units.
It is then recommended to keep the rest of the platoon until you are certain what units in the platoon you want. You may already know that you do not want helicopters or tanks in your mission and you can safely remove them. Note anything you delete at this point will require extra work to recover.
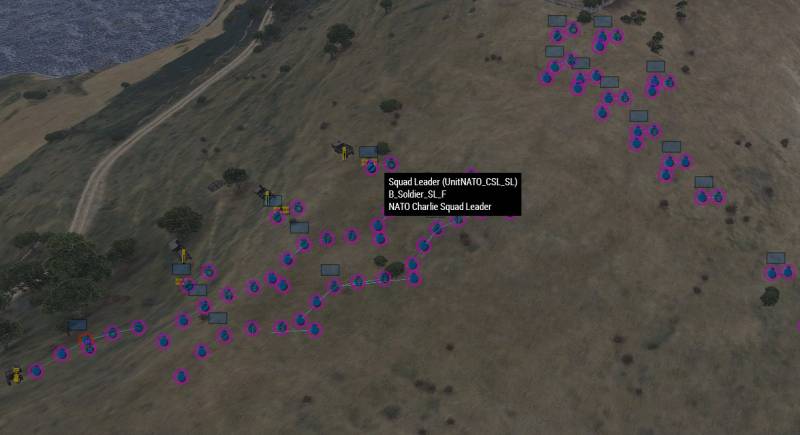
In the above image I removed the non NATO platoons, here you can also see if I hover my mouse over a unit it gives me a description of that unit. You can then easily find which units correspond to which group.
Place objects and AI
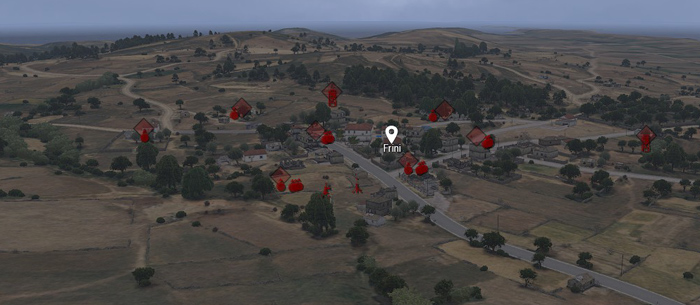
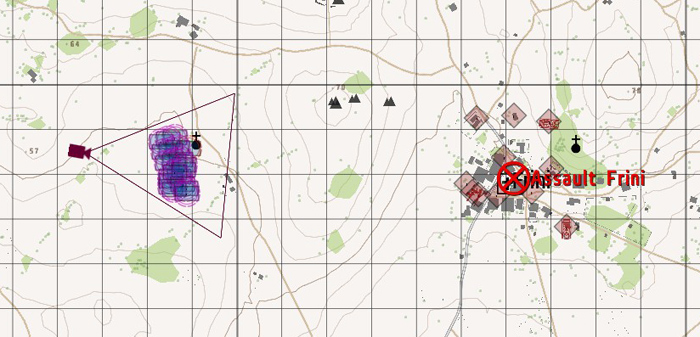
You should then setup the objectives placing any objects/AI units for your mission. In this section we will use a simple town assault on Frini as an example.
In the above image you can see what an example objective might look like.
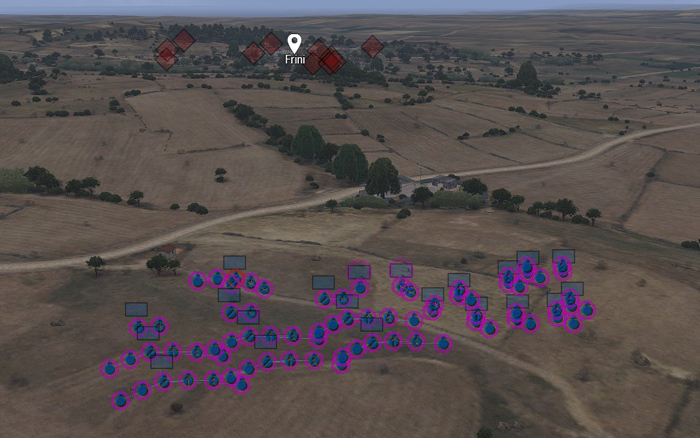
We also ensure that we move the players to an appropriate starting position. You should always consider how long it will take the players to arrive at the objective.
It might be worth placing some markers to help aid the players in understanding where the objectives are.
Name the mission
The mission name is set via Attributes → General (from the top toolbar in the 3D editor).
The mission name is what is visible to the session host when choosing the mission
<type> <mission name>
e.g. COOP: Operation Seize Airfield
This is deprecated. With the new mission database this is no longer necessary, and just giving your mission a name without prefix is preferred.
The mission description is set via Attributes → Multiplayer (from the top toolbar in the 3D editor).
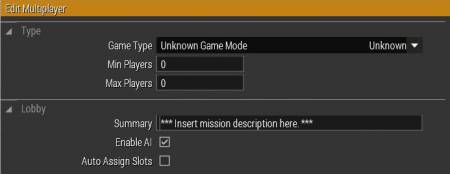
The summary is visible to all players on the slotting screen. Provide any instructions for the slotting process here e.g:
- MAT is required, Slot in order: CO, Alpha, Bravo, Tank, MMG, Charlie
- Slot bluefor 2:1 greenfor
Missions played at 1Tac are assumed to have their briefing in the map screen. If your mission is designed to have the briefing carried out in game, you should indicate it as such, In the description include: “briefing-ingame”
You should also select the correct game type and minimum and maximum players for your mission.
Configuring player equipment
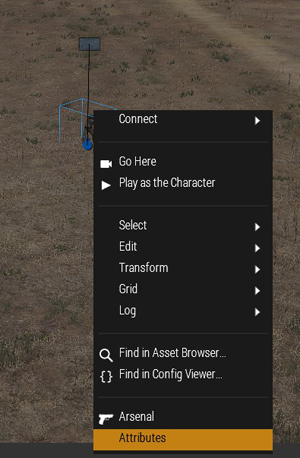
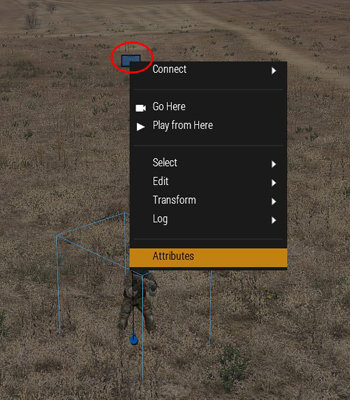
TMF comes with its own highly configurable system for giving equipment to units. It should be used for all player equipment and can even be used for AI units too. To use it simply right click on a unit and go to attributes you will find the following section on the unit attributes page:
The roles shown here are dependent on what is available in your modpack and mission. You can create your own role templates. For more information see the assign gear page.
It is extremely recommended to not use the arsenal system for player equipment as it is less flexible when configuring an entire platoon.
Setup the mission briefing
If you stick to the units included in the template. You can use the preconfigured briefing pages. In windows you should open up the mission folder and you will find a folder in it called briefing. These files contain the briefing text for the mission and you should edit these in a text editor. We recommend using notepad++ Click here our notepad++ setup guide.
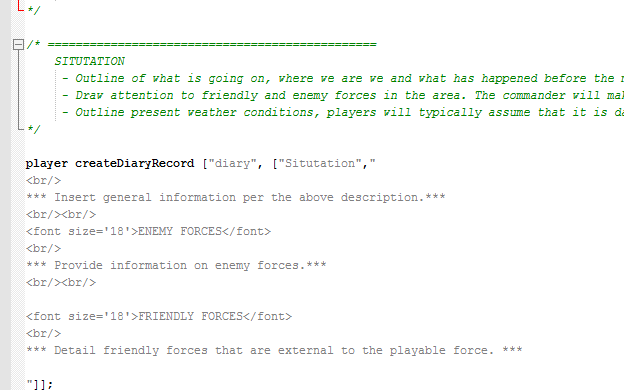
By default these briefings are separated by faction. Notepad++ will automatically syntax highlight for you as seen below (parts in green are comments and are ignored by the game engine). You should edit the grey text as seen below:
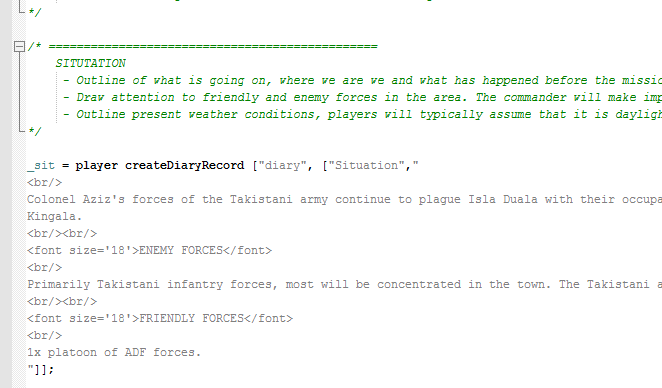
Below is an example of the situtation page briefing page being filled in:
If you wish to see the full functionality provided by the briefing system see here.
Configure TMF Features
Teamwork comes with numerous features already included and pre-configured. Including systems for setting up ACRE2 radios and radio distribution. The ORBAT system which automatically generate briefing pages and can have markers on the map that follow groups and units. In future there will probably be more of these systems. All of these systems can be configured and disabled if desired.
All these systems are designed to configured in eden as much as possible. Most of these systems either have unit, group attributes or mission attributes. See below for how to access the different attributes.
Unit attributes
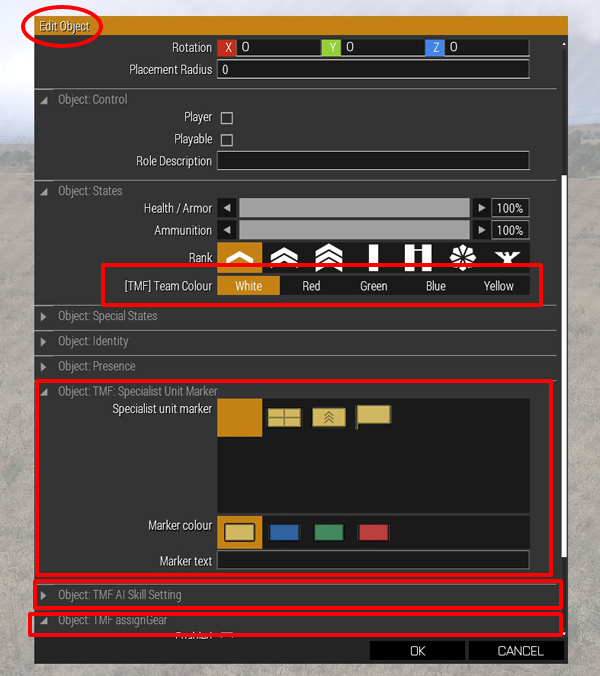
Unit attributes are particular to a unit and can be accessed by right clicking on the unit and selecting attributes. In the below picture you can see some of the custom attributes offered by teamwork highlighted.
Group attributes
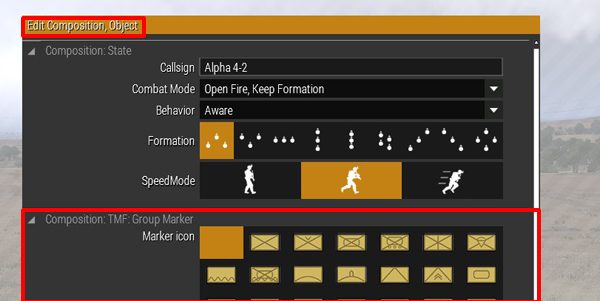
Similarly groups also have attributes but you must ensure that you are editing for a group note that the attribute page title is now “Edit composition” instead of “Edit Object”.
Dedicated mission attributes:
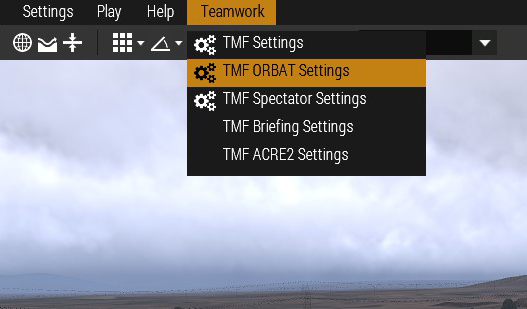
The teamwork mission attributes can be accessed through the teamwork menu bar..
It is recommended that you read the wiki pages for each component to fully understand how they work. You can find a full list of components on the main TMF wiki page.
Uploading your mission
- Export your mission
- Click “Create Mission”
- Upload your mission, found in C:\Program Files (x86)\Steam\SteamApps\common\Arma 3\MPMissions
- Fill in the necessary details

